SwiftUIでMapKitを使用してMapViewを作る
完成図

MapView 作る
まず、UIViewRepresentableプロトコルに準拠するMapViewを作成します。
import SwiftUI
import MapKit

struct MapView: UIViewRepresentable {

}
UIViewRepresentableには、2つのデリゲートメソッドが定義されていて呼び出す必要があります。
呼び出しましょう。
struct MapView: UIViewRepresentable {
    // ビューオブジェクトを作成し、初期状態を構成する
    func makeUIView(context: Context) -> MKMapView {
        return MKMapView(frame: .zero)
    }

    // ビューの更新時に呼ばれる
    func updateUIView(_ uiView: MKMapView, context: Context) {

    }
}
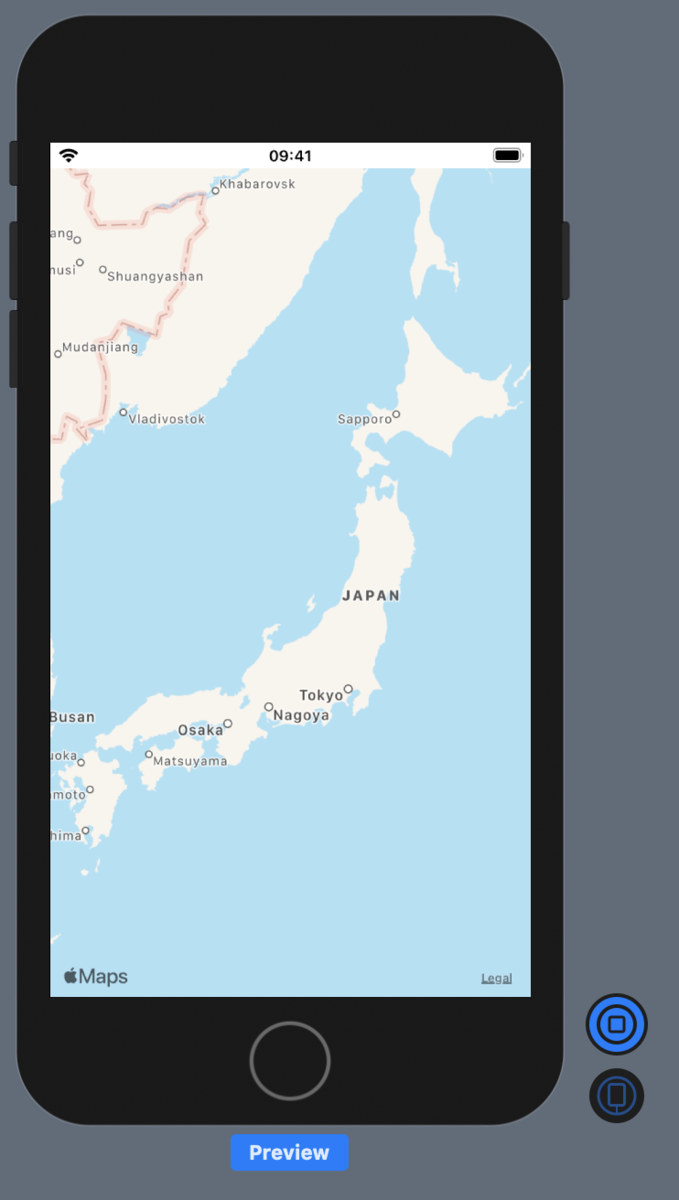
プレビューしてみると以下のようにマップが表示されていることがわかります。

このままでは、何の面白みも工夫もないので、
初期の位置を設定して最初から初期位置を表示し
初期位置にピンを立ててみましょう。
では、updateUIViewを以下のように記述してプレビューしてみましょう。
※現状は、makeUIViewに記述しても動作としては同じ
 // ビューの更新時に呼ばれる
func updateUIView(_ mapView: MKMapView, context: Context) {
    // 緯度経度を設定
    let latitude = 34.011286, longitude = -116.166868
    let coordinate = CLLocationCoordinate2DMake(latitude, longitude)
    // 縮尺を設定
    let span = MKCoordinateSpan(latitudeDelta: 2.0, longitudeDelta: 2.0)
    // マップの中心を設定
    let region = MKCoordinateRegion(center: coordinate, span: span)
    mapView.setRegion(region, animated: true)

    // pinを立てる
    let annotation = MKPointAnnotation()
    annotation.coordinate = coordinate  // ピンを立てる位置設定
    annotation.title = "Hello, World"   // ピンのタイトル設定
    annotation.subtitle = "hoge"        // タップしたときの詳細設定
    mapView.addAnnotation(annotation)   // ピンをマップビューに追加

}

完成図と同じ画面を作ることができました。
おわりに
今回の記事のプロジェクトをGitHubに上げているのでぜひ参考にしてください。